[Disclosure: This post contains some Amazon affiliate links.]

[Disclosure: This post contains some Amazon affiliate links.]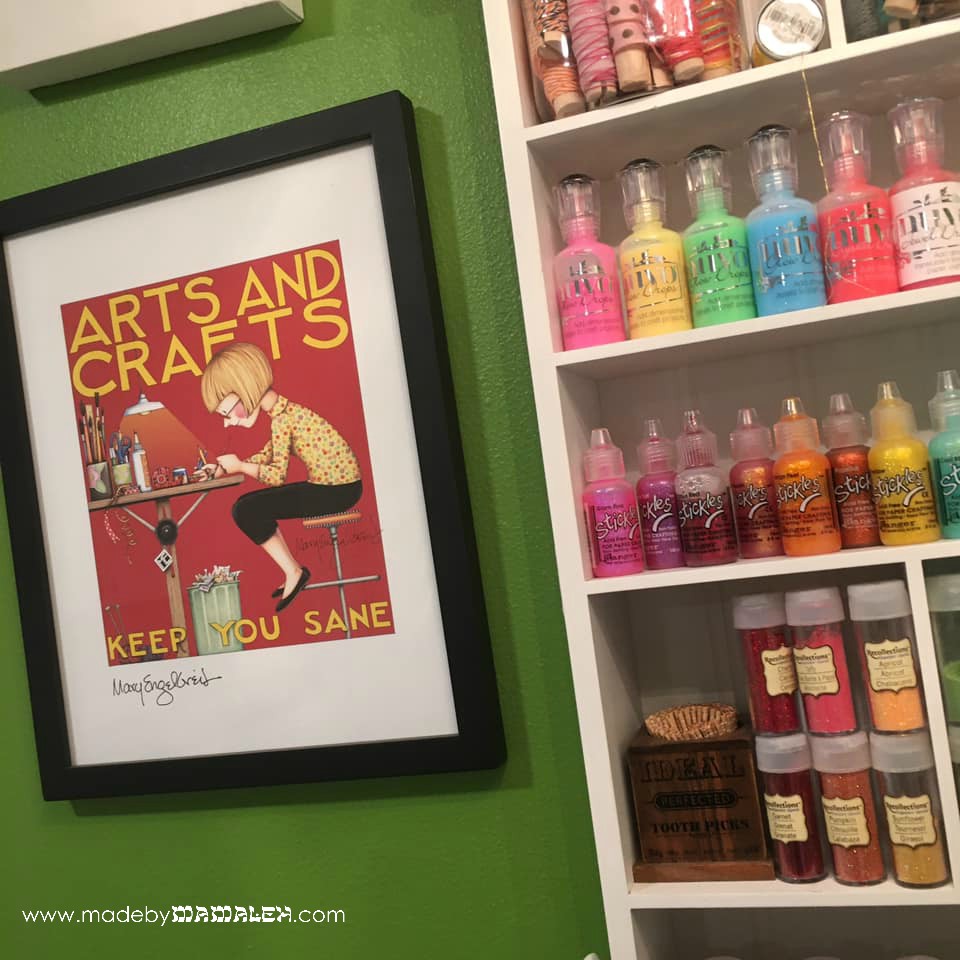
I have had the above print by Mary Engelbreit hanging in my home office/craft space for a while now. I always find that focusing on a craft project helps my brain reset from lawyer mommy life. If you follow me on Instagram, you may already know that in an attempt to keep myself sane, I am challenging myself to make a greeting card a day and send them to friends to communicate from afar. It’s a win win since I get my creative energy flowing (and a sudden validation for my hoard of craft supplies) and the friend I send it to gets a lovely surprise. Several friends who received theirs this week have already told me it made their week in this time of social distancing. The other benefit of a card is that it’s the type of project that can fill as much or as little time as you want. If you just want to do a quick card with a single stamp, you can totally do something clean and simple. Or, if you have a bit more time, you can layer stamps and inks to your heart’s content. Either way, you get the satisfaction of completing a project in one sitting! Continue reading

The new year is coming and I couldn’t be more excited for a fresh start! I have been MIA for far too long. Year 38 has probably been the longest of my life. So I mentioned back in December that we’d had health challenges – well now that they seem mostly behind us (pu pu pu), I can offer a bit more explanation. At 38, my dear sweet husband was diagnosed with TWO kinds of cancer. After major surgery the week of Thanksgiving, he’s spent the last nine months in a cycle of chemo and radiation, all while juggling work and life with two kids (who turned 8 and 2 this summer!) So, you can guess where much of the day-to-day worry fell. But I am thrilled to say that my sweet is now cancer-free!! One of my goals is to return to my craft projects, or rather sharing them with all of you; the sign in my craft room does proclaim, “Arts and Crafts Keep Me Sane” after all. I’ve still managed to sneak some projects in over the past year and will try to go back and share them over time. Continue reading

I have been missing in action for quite a while now and thankfully many of you have not given up on me. In fact, some have even written to ask when I might be posting again. Well, here I am! There’s been a lot going on around here! I just finished chairing our big synagogue gala/auction this past Sunday which was a smashing success but which has been consuming much of my free time over the last several months. I can’t wait to share some of the décor elements with you but that will have to wait for a future post when I have pics back (I was too busy working to take any pics myself!)

It has been forever since I played along with the Runway Inspired Challenge. None of the fashions spoke to me but then came this one and holy moly, it was made for me!


As you may recall, we lost our two red chow boys Teddy and Smokey last spring, just six weeks apart. We adopted a sweet and huggable black chow chow in August who we named Huckle Bear but red chows will always have a special place in my heart. So when I read that much of this designer’s collection was inspired by her little chow chow Lilybear, who is apparently well known on the streets of Paris, I knew it was time to get busy on a card. So, without further ado, here it is:

I masked the edges with thin washi tape and then used a dauber to apply Versafine in Smokey Gray. Then I die cut the chow chow from Stardream Flame and added a few enamel dots from My Mind’s Eye. The sentiment is an old one from A Muse embossed in Turquoise onto PTI Berry Sorbet cardstock and popped up with foam tape.
I am beary happy with the result. And just so Huckle isn’t left out given all the focus on red chows, here is a pic of my sweet boy along with my other sweet boy 🙂
 Shabbat Shalom!

I forgot that I had one other card to share when I posted earlier…my mother’s day card for my own mamaleh! As I mentioned, I am taking the online class Watercolors for Cardmakers. This card used an emboss resist technique, i.e. I embossed the stamped image with clear embossing powder and then watercolored over it using a variety of Twinkling H2Os for a rainbow effect with a bit of shimmer to it (sadly subtle shimmer is just too hard to capture in a photo!).

Supplies used: Fabriano 3×5 notecard, Impress Moroccan Tile Background stamp, Twinkling H2Os, Inkadinkado Maison Ornate Alphabet stamps, clear embossing powder, vellum paper, Versamark Ink, Brilliance Graphite Black Ink.

First of all, Happy Mother’s Day to all the mamalehs out there! Second, sorry I have been MIA for a while but I’ve just busy with work and life. I am trying to remember that a little creativity helps keep me going. I have this print hanging in my craft room/office and it is the darn truth!

I have been missing my creative mojo lately, so I needed a little inspiration to kick my butt into gear and get the wheels turning again. Having seen so many watercolor projects in the online papercrafting scene lately, I decided to sign up for Watercolor for Cardmakers with Online Card Classes.

The quantity and quality of instructional material has really surprised and impressed me – each day there are 3-4 fantastic videos as well as printable step-by-step instructions and detailed supply lists linking to all of the materials. In addition, there is an online gallery to share your creations and a forum to ask questions. One cool thing about this format is that you can go at your own pace; the other day I started a video, got interrupted by my son and just went back to it later. Another day I didn’t even have time to watch so just doubled up the next day. The ability to do it on my schedule has been fantastic. And you have access to the videos when class is no longer in-session so you can always go back and watch them again. For $25 it is seriously a ton of information and really fun!
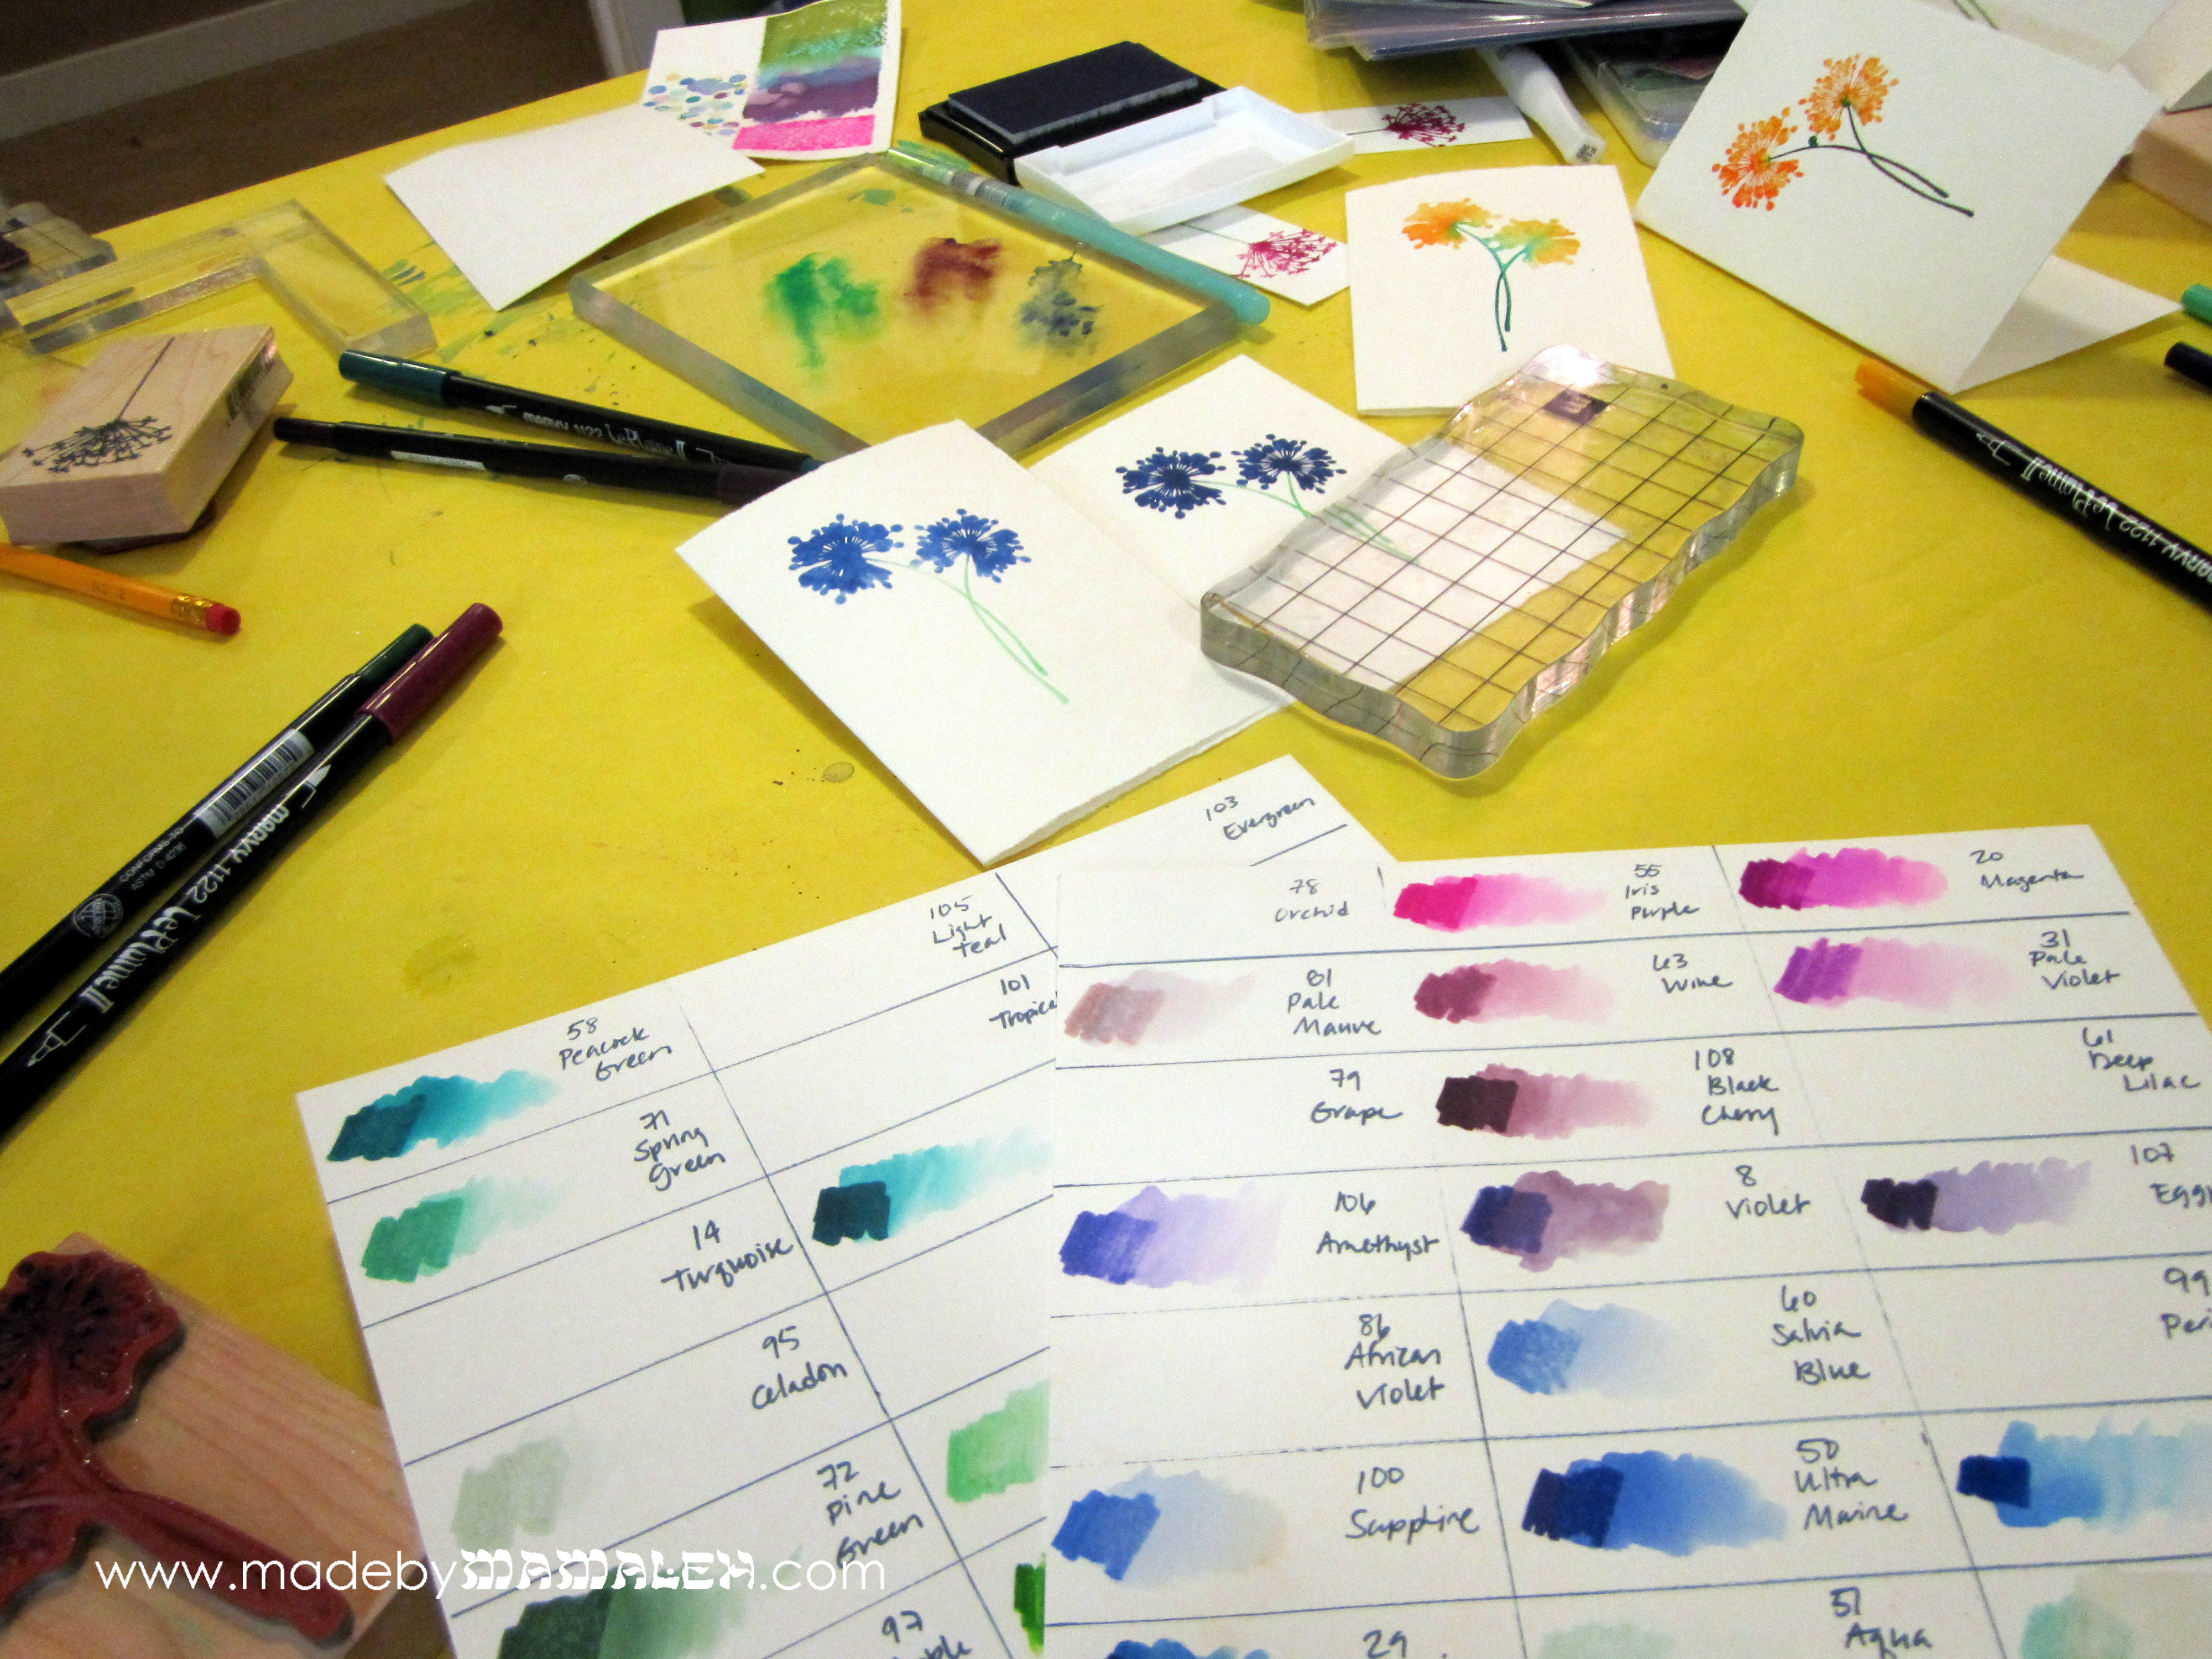
There have been so many amazing techniques on display this week swirling around in my head. So, yesterday a friend, who I convinced to take the class with me, came over and we just played around. Now I have even more ideas! Here’s what the craft table looked like when we were finished:
First up is my take on the very first card from class which utilizes a technique involving watercolors and a stencil. I am pretty happy with the result and plan to make more variations of this.
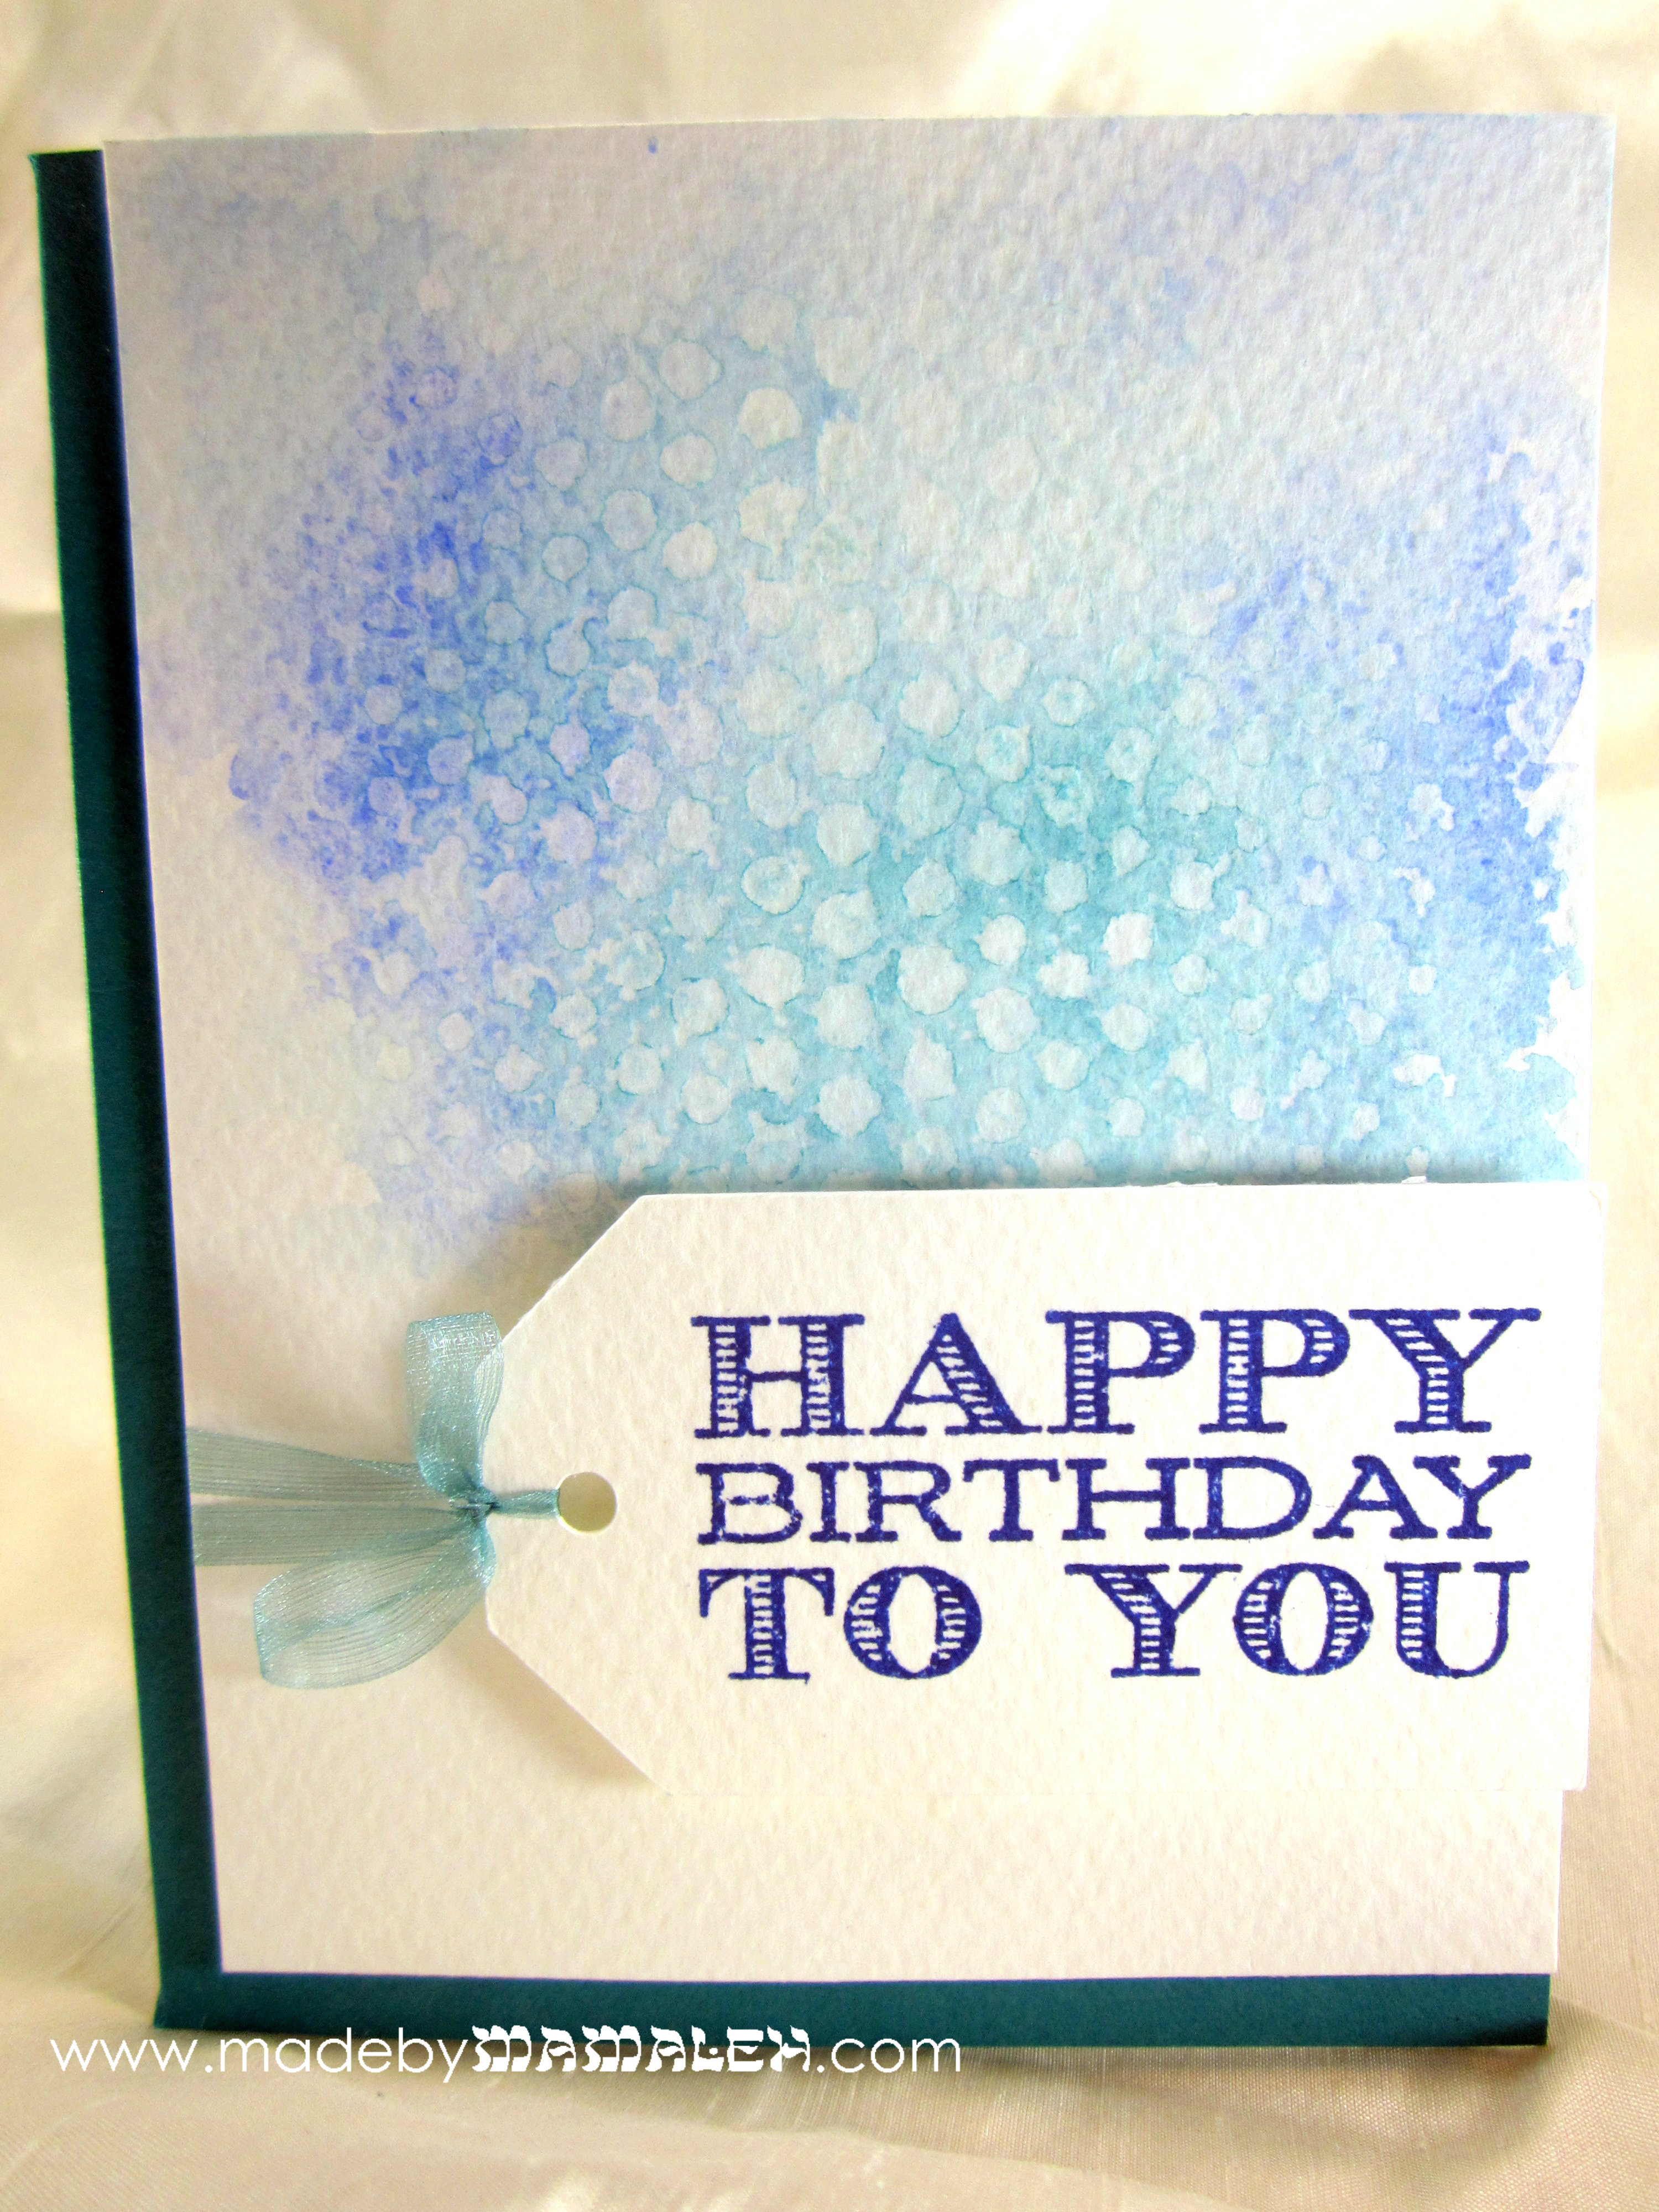
Supplies used: Paper Source Peacock Cover, Amuse Studio Happy Birthday To You (from Birthday Greetings), Versafine Majestic Blue, Fabriano Cold Press Studio Watercolor Paper, Memory Box Disperse stencil, Angora watercolors, foam tape, ribbon, Silhouette tag file
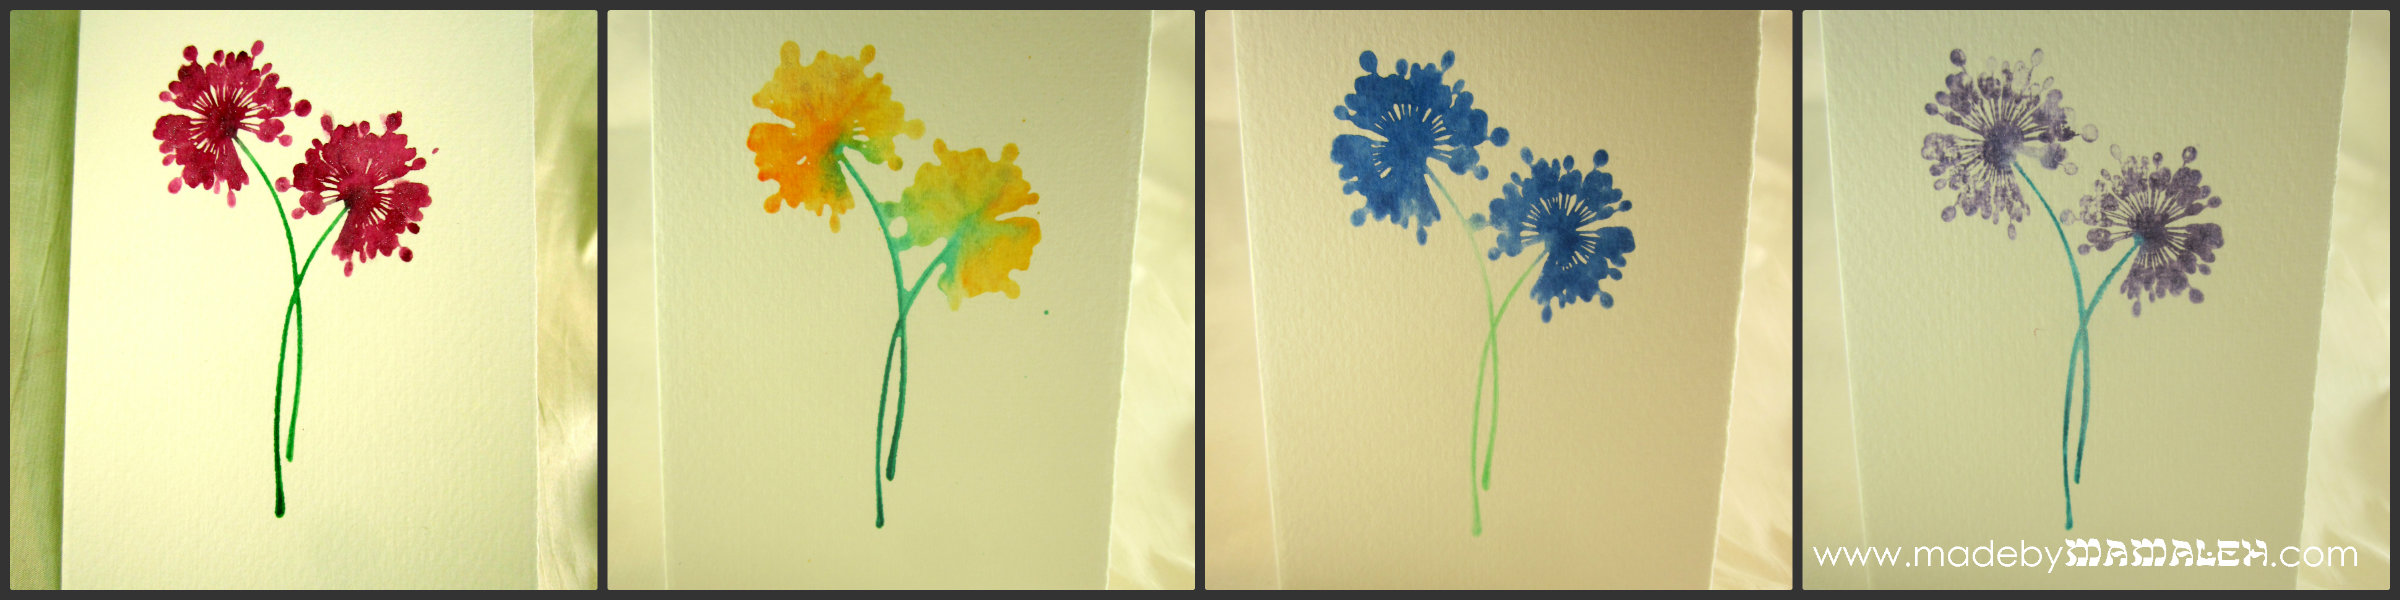
Next up I decided to try the technique that involved placing color directly on a stamp with a dye marker and then spritzing with water before stamping. At first glance, I didn’t think I could do this technique since I don’t have any Distress markers but then it got me thinking about my neglected Le Plumes so I decided to give those a try and was so happy with the result, I ended up doing a color chart (as you can see in the mess photo above).
 Supplies used: Bazzill Basics Cardstock in Midnight, Flower stamp – Silhouette 3 by Impression Obsession, Sentiment by Savvy, Delicata Golden Glitz ink, Marvy Le Plume II markers, Wink of Stella Clear brush pen, foam tape.
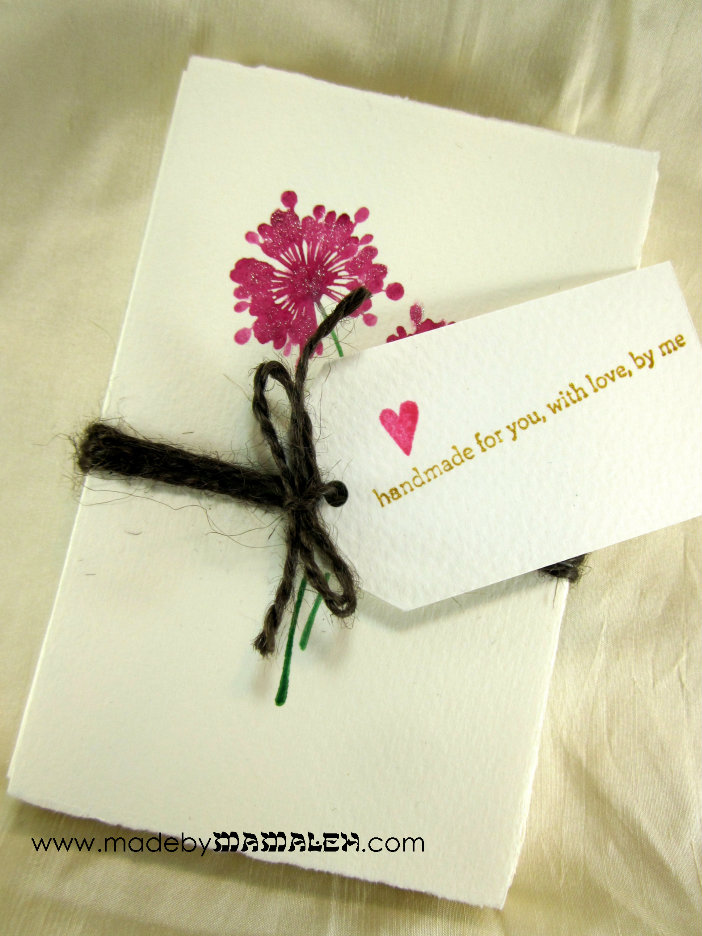
I loved this result so much I decided to make a gift set using Fabriano 3×5 notecards which are really gorgeous cards with a lovely deckled edge. I used a mix of Le Plume colors and did both first and second impressions (not reinking but just spraying again). For a few, I subbed Tsukineko Shimmer Spritz for water and it may just be my new favorite product ever. It’s like a fairy just landed on your paper and sprinkled it with fine fairy dust. I must confess, I do have a bit of a sparkle obsession.


Supplies used: Fabriano cards, Marvy Le Plume markers, Wink of Stella Pen, Tsukineko Shimmer Spritz.
Then I wrapped it up with a little twine bow and tag (retired Amuse sentiment in Delicata gold) all ready for my aunt’s bday (a tad late but made with love).
I am having so much fun with these techniques so don’t be surprised if I pop back later with a few more to share in the class galleries!


Sorry for being MIA – between all of the holidays, work and some health stuff, that’s just the way it goes sometimes. I had high hopes for finally getting a good pic of our sukkah, made from our chuppah frame. Alas, that didn’t quite happen. But, I’m back with a little something I made for a dear friend who is in the midst of wedding planning. There are just times in a girl’s life when no ordinary thank you note will do and goodness knows that in the months leading up to a wedding, there is no shortage of thank yous to write! Continue reading

Please excuse the interruption in the regularly scheduled high holiday programming but there was a challenge over at Moxie Fab World that I just needed to enter and it required me to think of Hanukkah while in the midst of Rosh Hashanah prep. OY! So, over in the Moxie Fab World, there was a Holiday Gift Tag Challenge. And yes, even though Rosh Hashanah is a clearly a much bigger holiday than Hanukkah, the challenge was for the winter holidays, namely Christmas but since Hanukkah doesn’t appear to be getting much love, I decided I better throw my hat in the ring. Continue reading


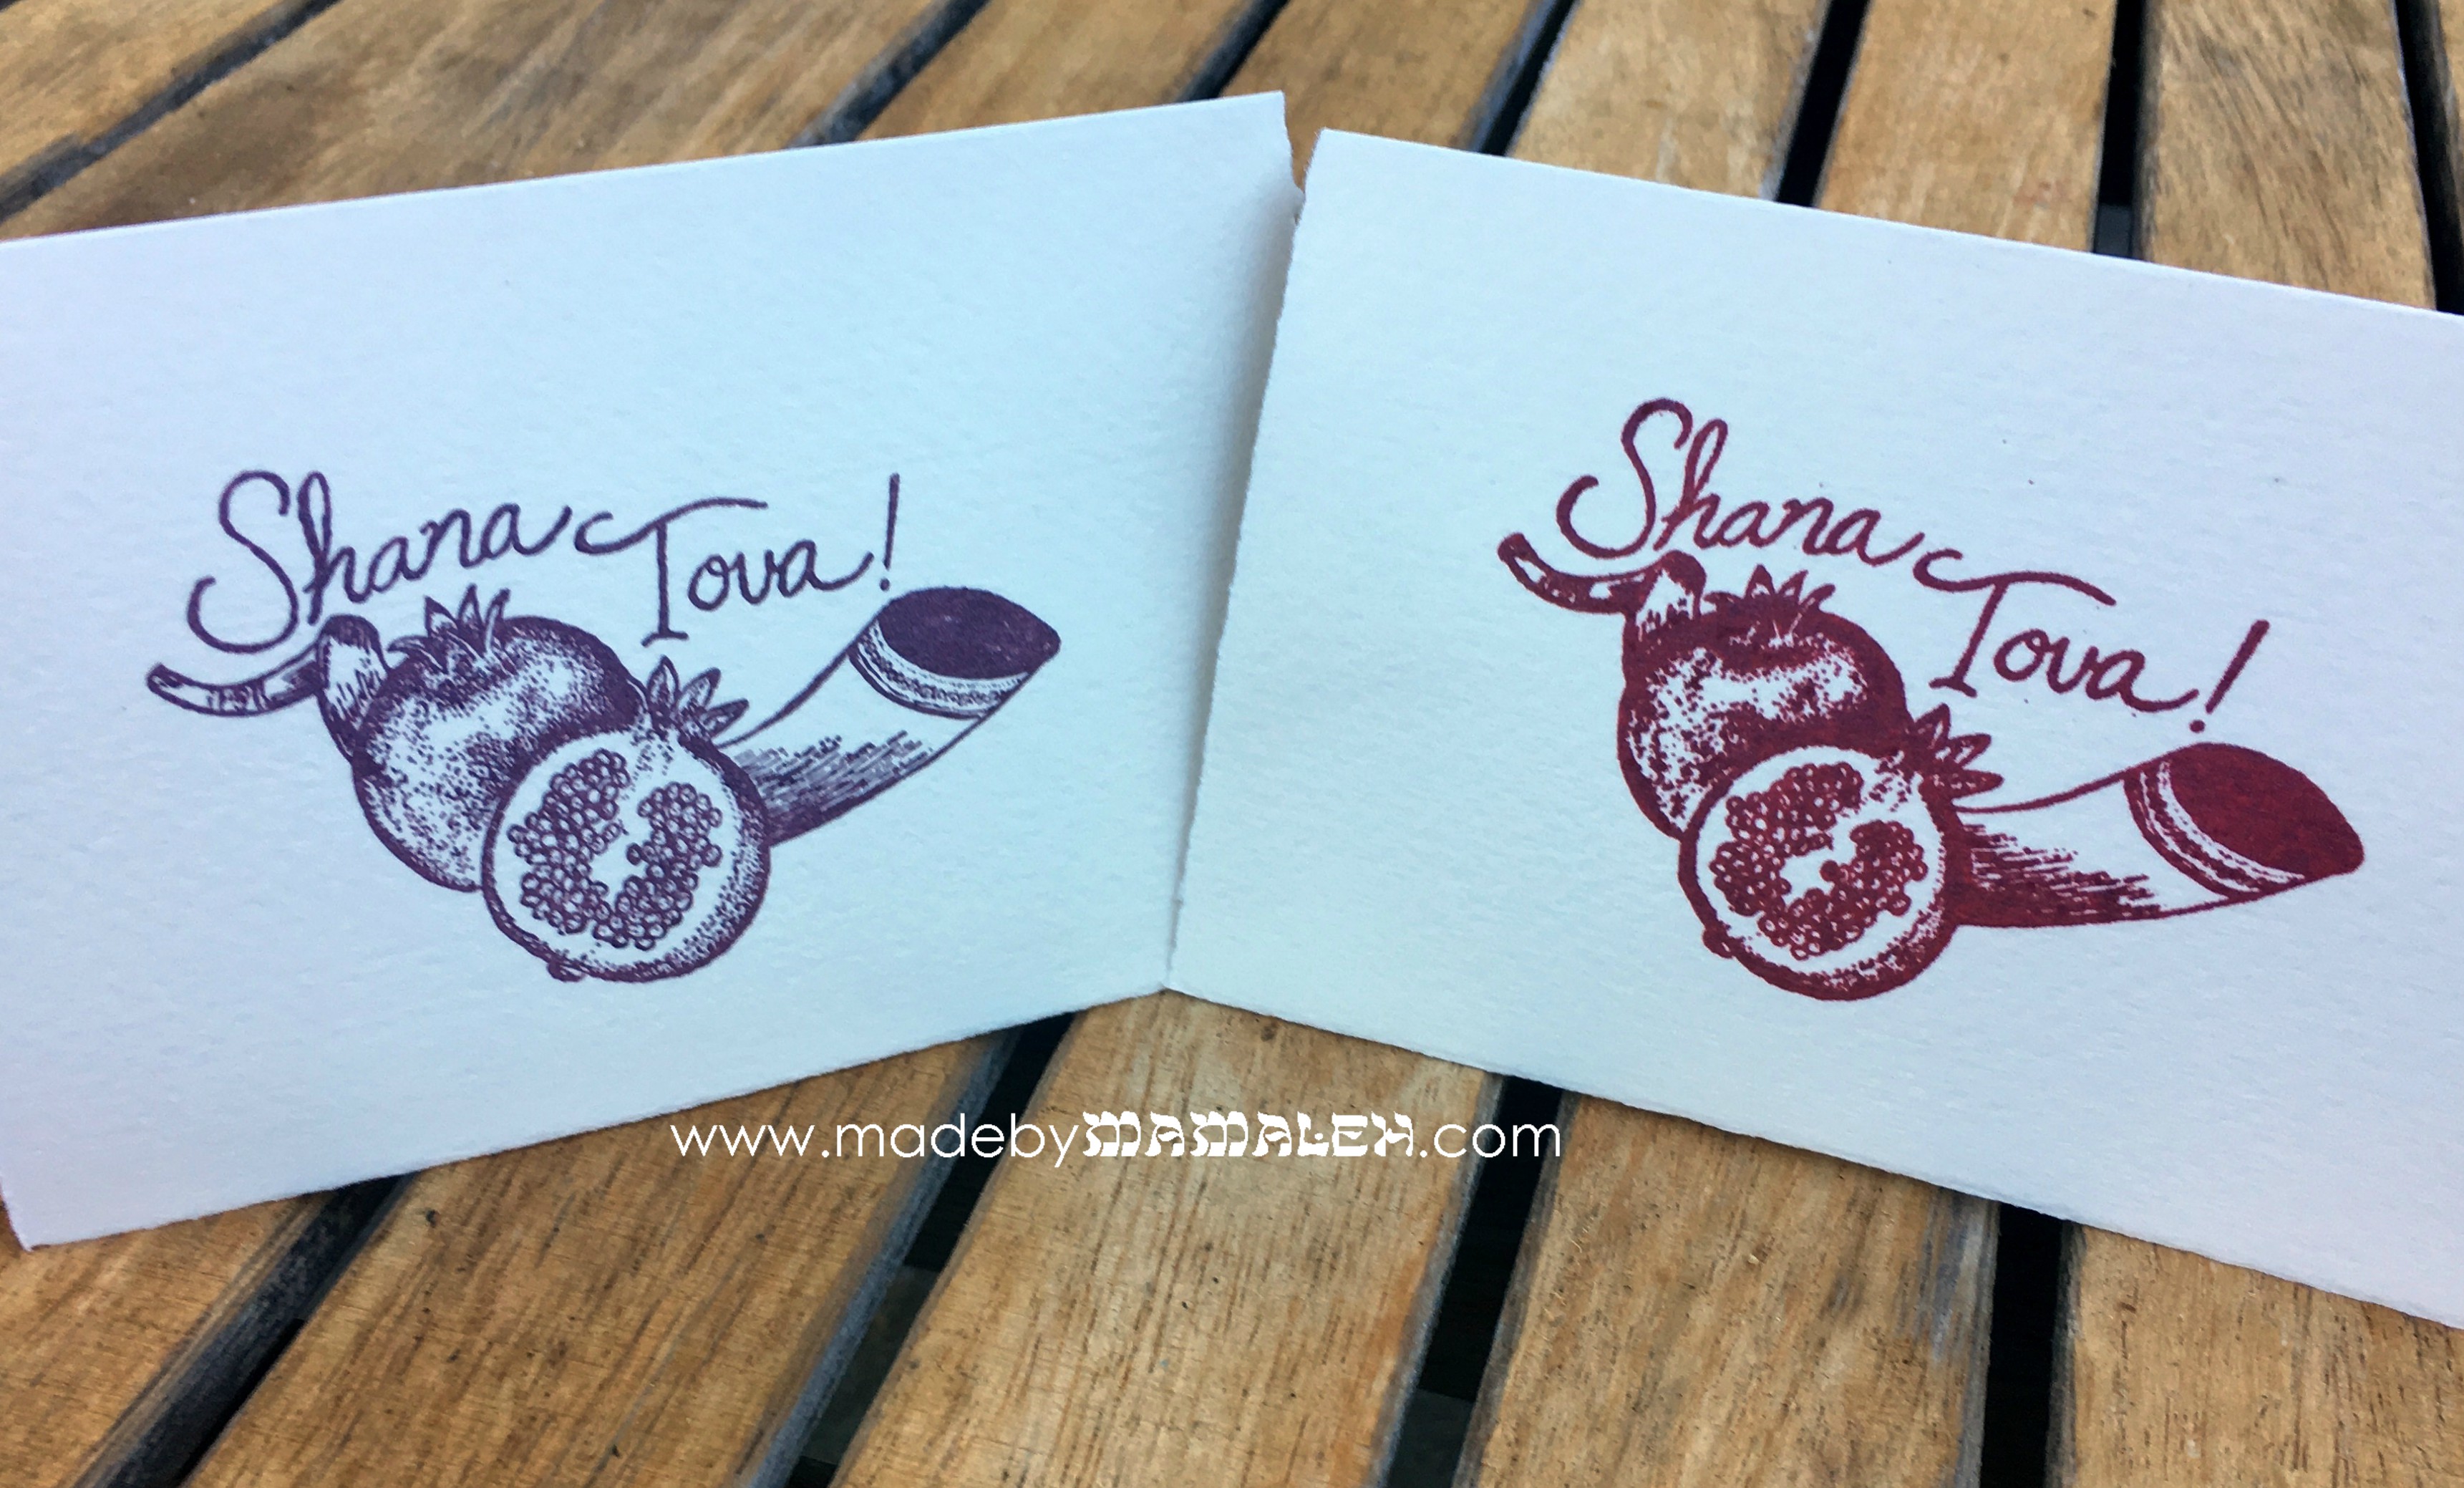
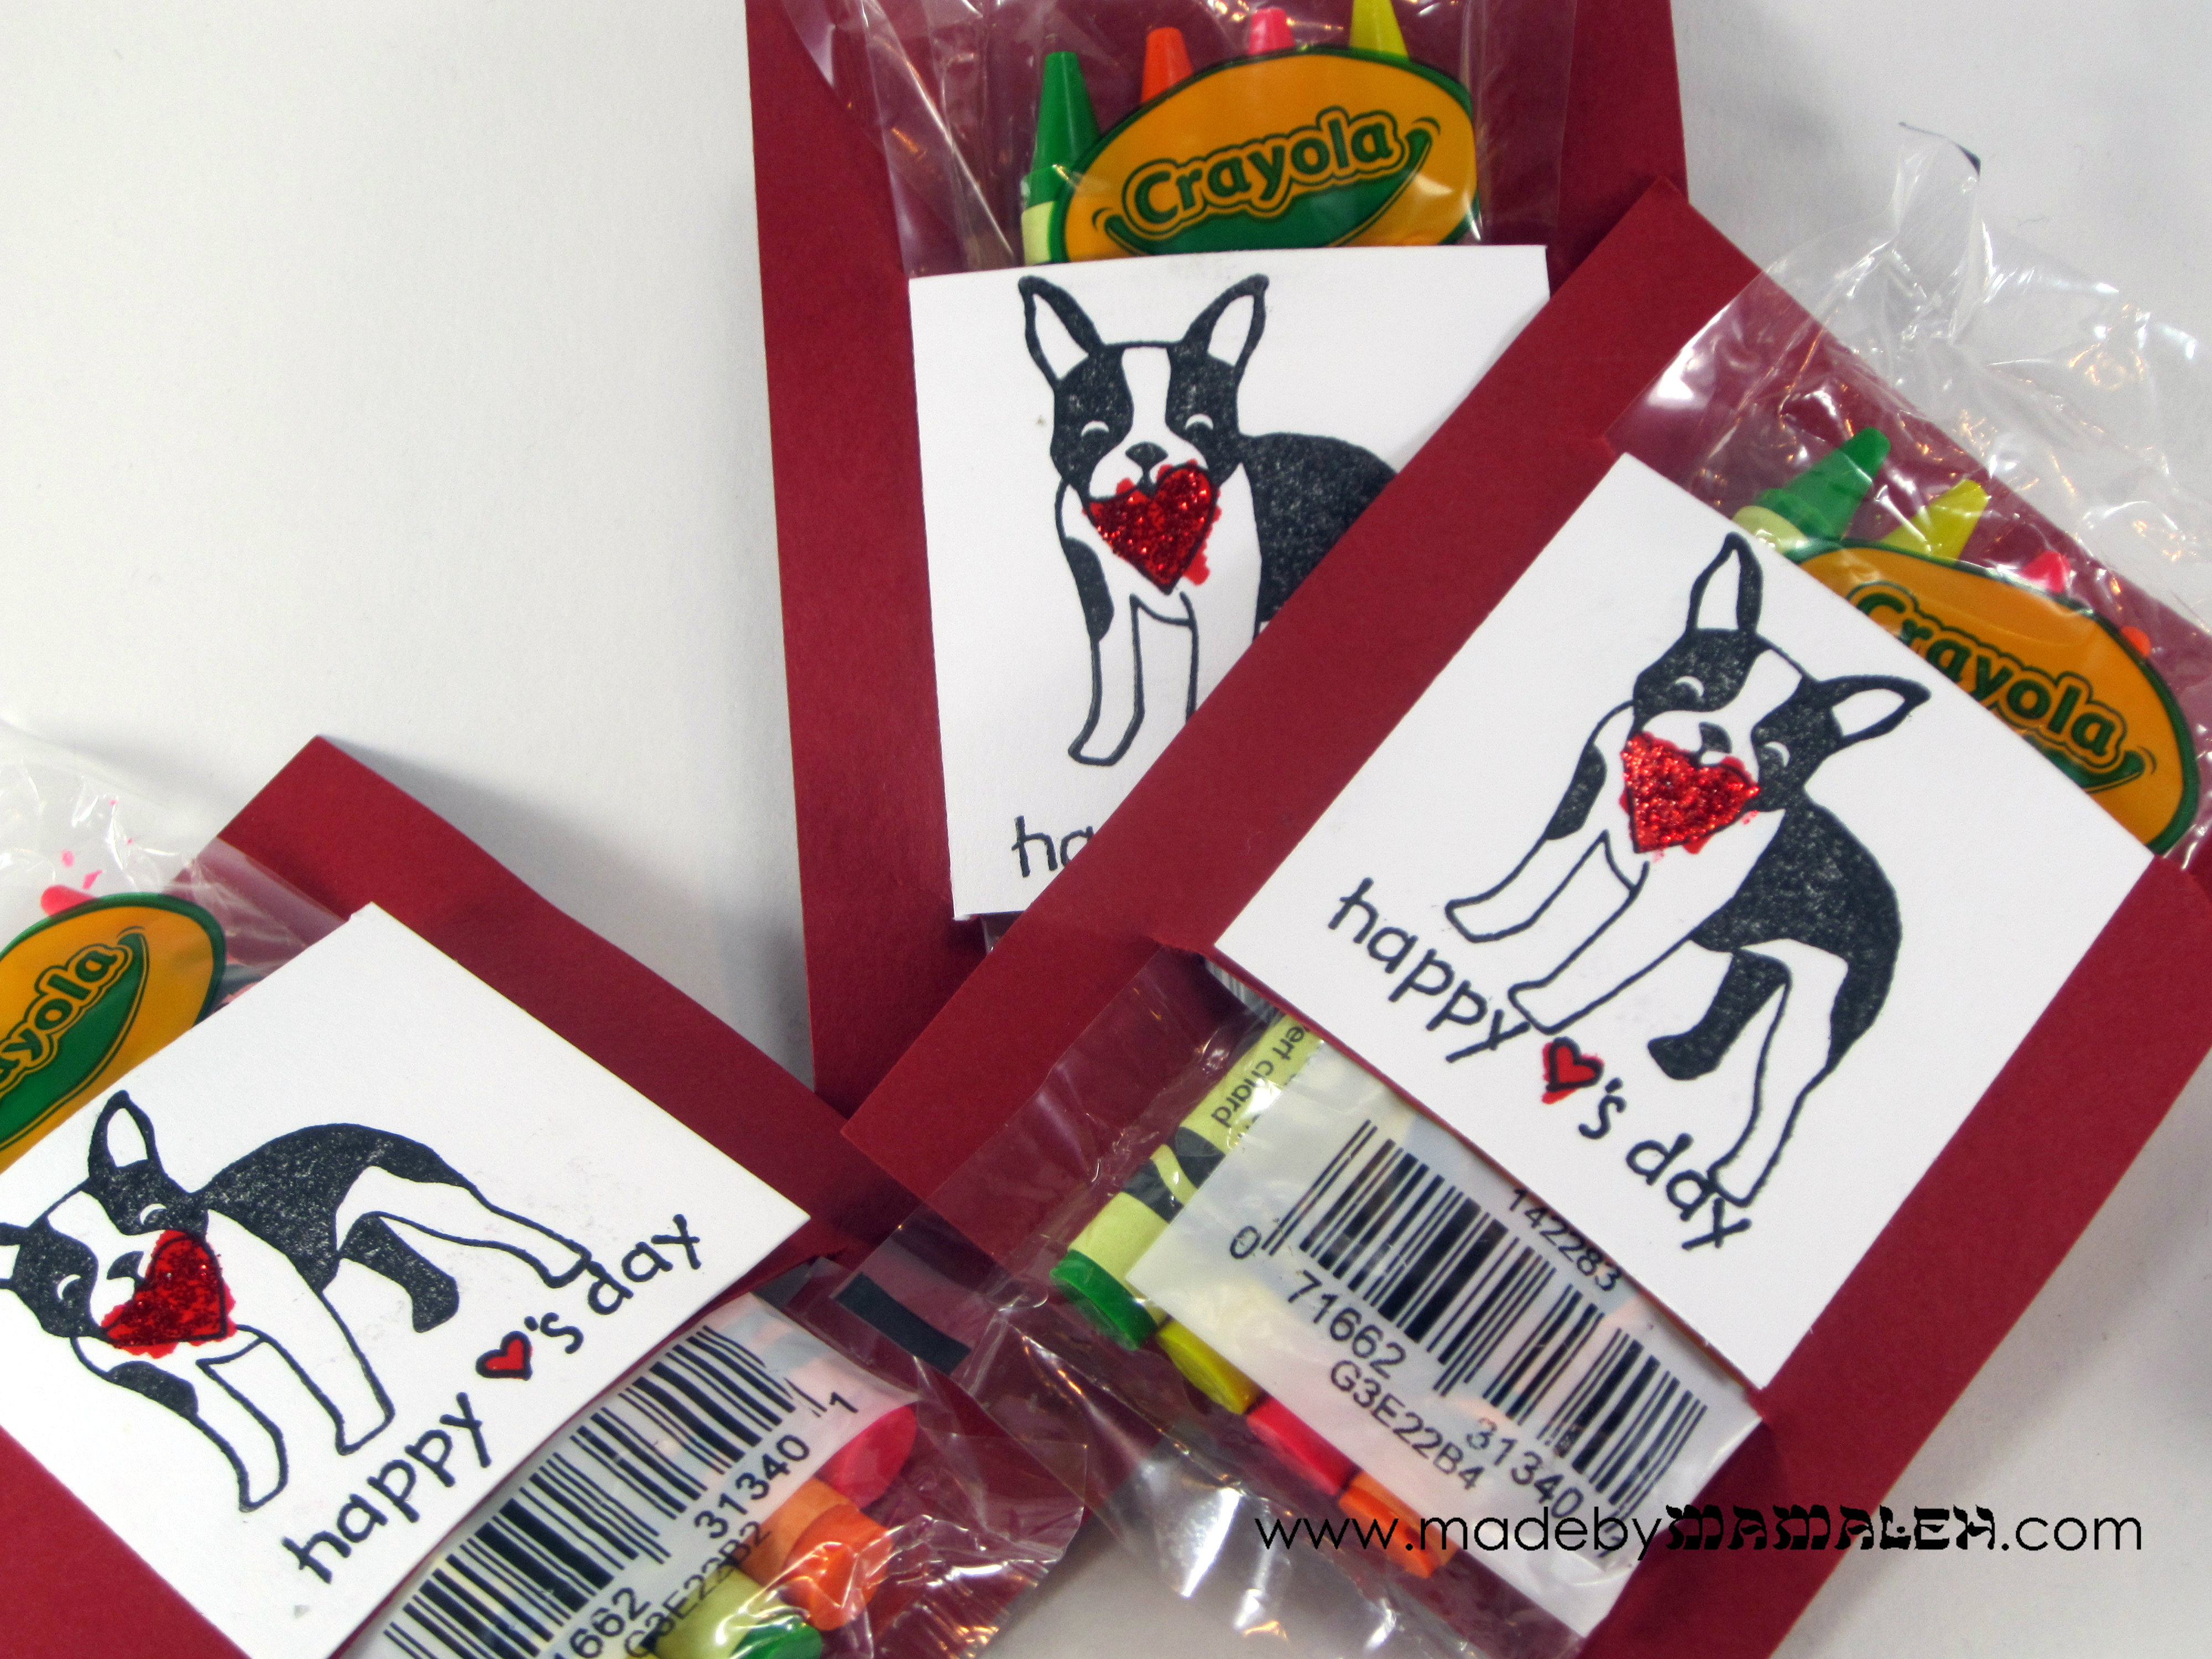
One of the paper crafting blogs I follow is A Blog Named Hero. A few weeks ago, they had an awesome post with an idea to make color-in thank you cards for kids using stamps. I absolutely loved this idea and decided to take that and make it work for Rosh Hashanah. Continue reading


